ComfyUI on RunPod
Use this tutorial after deploying one of the ComfyUI templates. It shows the shortest route from a running pod to your first workflow, followed by optional tools for managing models, files and the pod itself.
For general RunPod concepts and connection methods, consult the official RunPod Pod documentation.
Start here
| Task | Where to go |
|---|---|
| Deploy a template | Start a pod |
| Open ComfyUI | Connect to your pod |
| Run an included workflow | Run your first workflow |
| Open a command line | Web Terminal |
| Edit files in the browser | Code-Server |
| Configure passwords and tokens | RunPod secrets |
| Add models or LoRAs | Model and LoRA management |
| Free storage space | Delete models and LoRAs |
| Manage the pod or transfer files | Pod and file management |
1. Start the pod
If you have not deployed a pod yet, follow Starting a Pod. Continue here when the container log shows the final ready message.
2. Connect to your pod
- Open Pods in the RunPod console.
- Expand your running pod and select Connect.
- Under HTTP Services, open ComfyUI on port
8188. - Complete the ComfyUI login page.
| Service | Port | Use it for |
|---|---|---|
| ComfyUI | 8188 |
Loading and running workflows |
| Code-Server | 9000 |
Editing files in a browser-based code editor |
| Web Terminal | — | Quick commands and troubleshooting |
| SSH/SCP | 22 |
Persistent terminal access and file transfer |
View the official RunPod connection options.
View the RunPod HTTP Services panel

3. Run your first workflow
- Open ComfyUI from the RunPod Connect panel.
- Complete the login page if prompted.
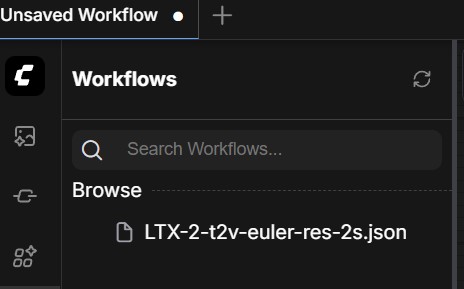
- Open the workflow browser from the left menu.
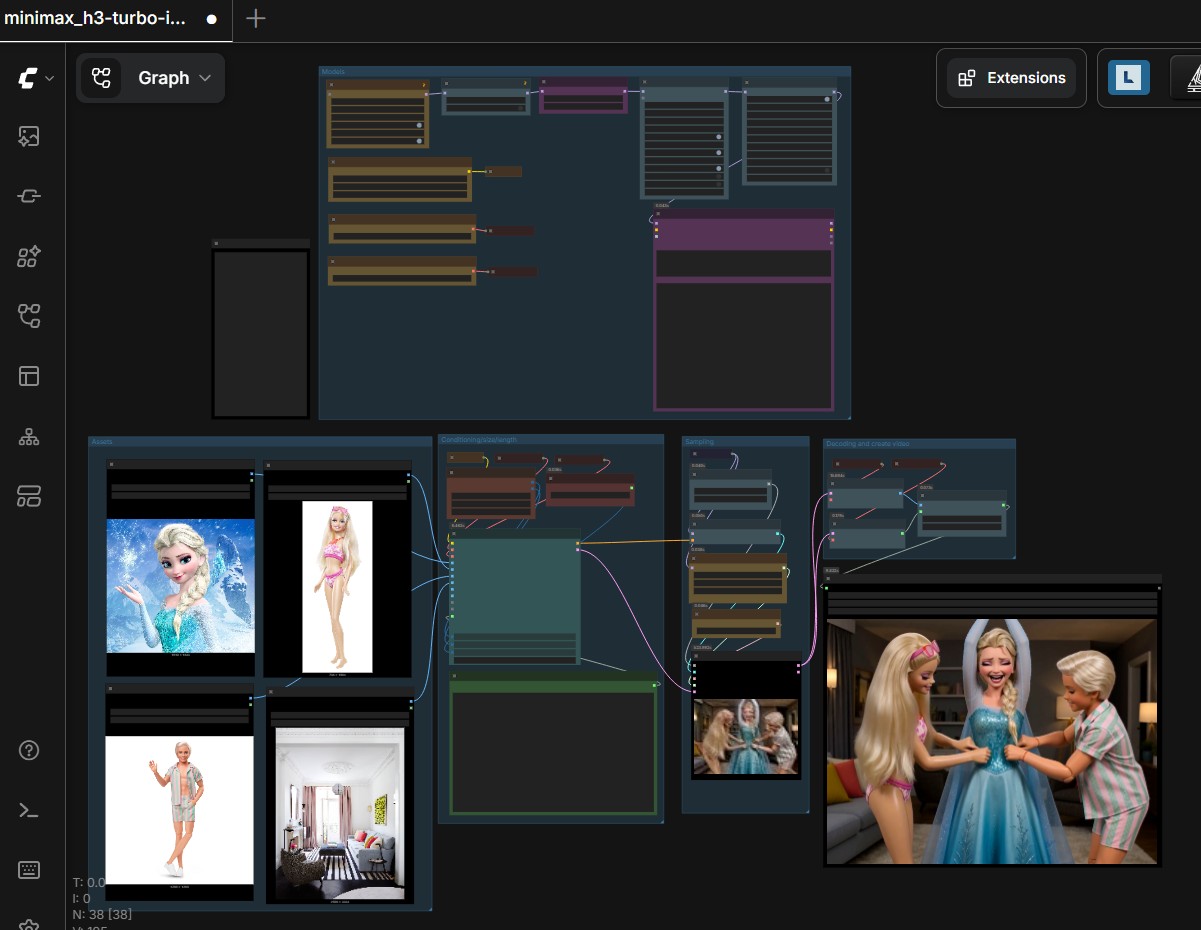
- Select one of the workflows included with your template.
- Review its prompt, media inputs, output size and duration settings.
- Select Run.
- Monitor GPU and system RAM usage in Telemetry.
The exact workflows depend on whether you deployed the Image, MiniMax, WAN or LTX template.
View example workflow selections
LTX workflow
MiniMax workflow
Optional pod tools
Use these tools when you need terminal access, file editing or template credentials. They are not required for running an included workflow.
Web Terminal
The Web Terminal is suitable for quick commands and troubleshooting. Use SSH instead for long-running processes.
- Open Pods in the RunPod console.
- Expand the pod and select Connect.
- Select Start if the terminal is stopped.
- Select Open Web Terminal.
View the Web Terminal

Code-Server login
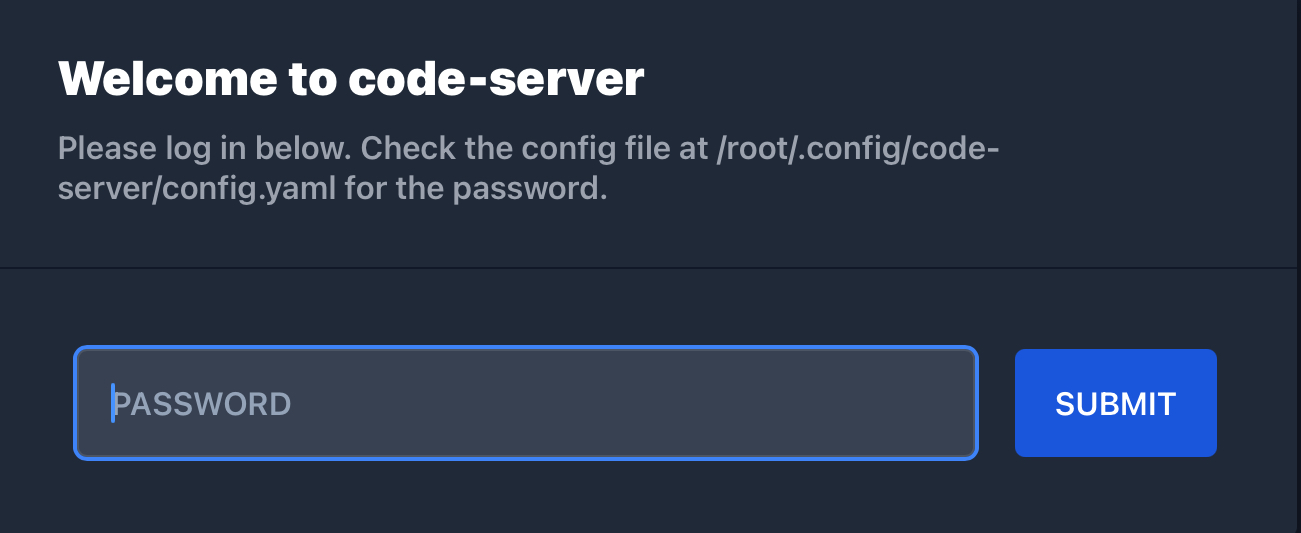
Open Code-Server under HTTP Services in the RunPod Connect panel. It uses the PASSWORD environment variable when one is configured.
When PASSWORD is configured: use that password on the Code-Server login page.
When PASSWORD is not configured: copy the generated password from the end of the container log, or open the Web Terminal and run:
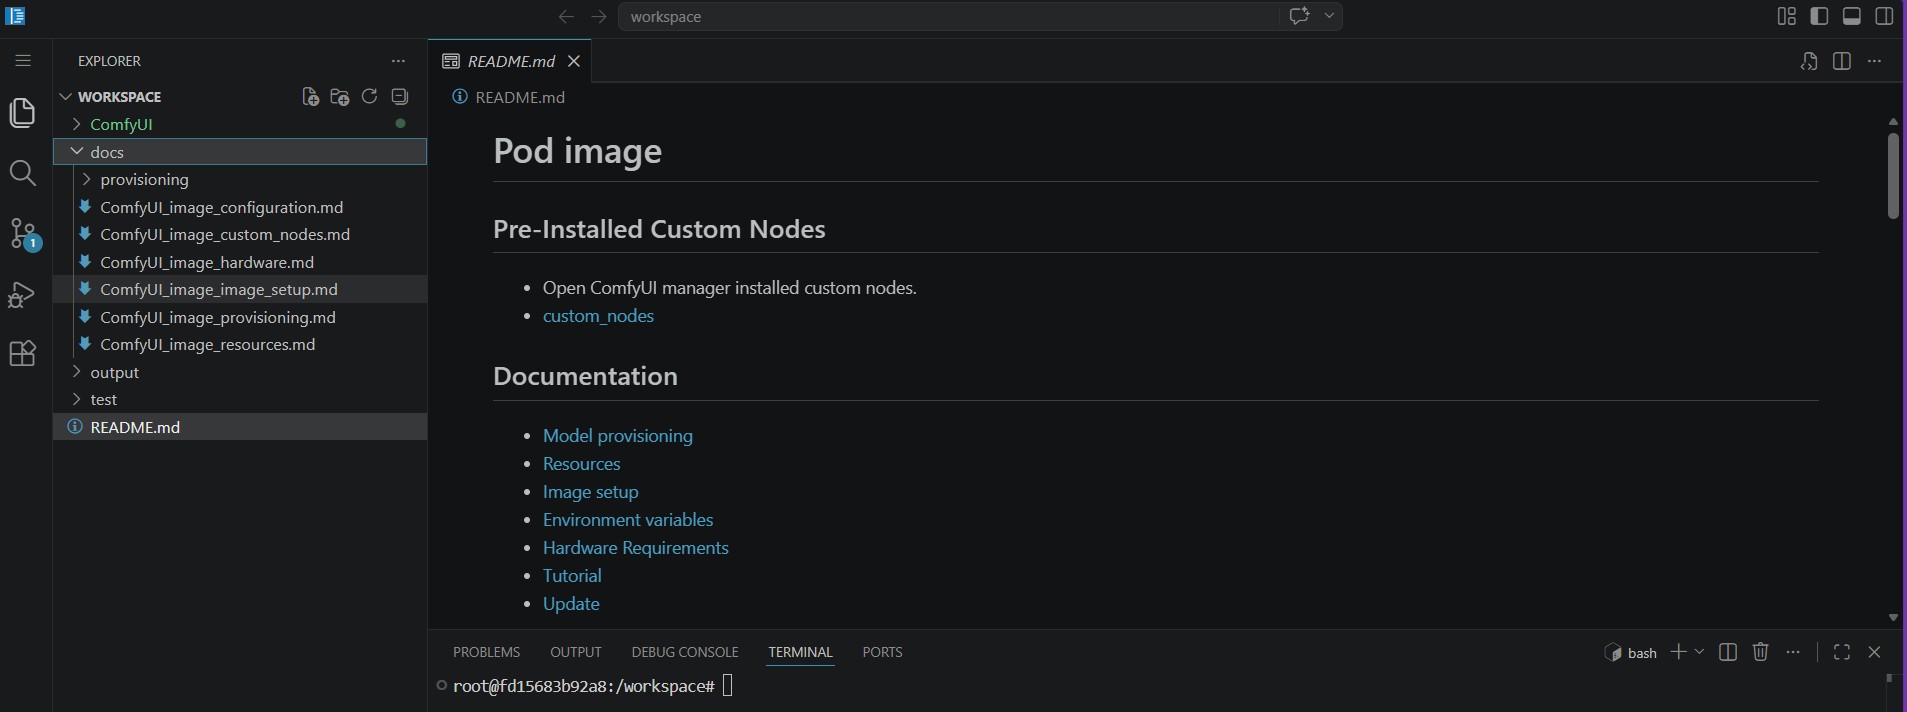
Copy the password from the configuration file and enter it on the Code-Server login page.
View Code-Server login and pod information
RunPod secrets
Use RunPod secrets to store passwords and access tokens separately from the template configuration.
| Environment variable | Purpose |
|---|---|
PASSWORD |
Code-Server login |
CIVITAI_TOKEN |
CivitAI downloads |
HF_TOKEN |
Hugging Face downloads, gated repositories and uploads |
Configure required secrets before starting the pod so the startup script and tools can use them immediately.
Model and LoRA management
Choose the method that matches the source and the amount of control you need.
| Method | Best suited for |
|---|---|
| ComfyUI-LoRA-Manager | Browsing, downloading and inserting LoRAs through a web interface |
| Model Linker | Finding models referenced by a workflow |
| CivitAI CLI | Downloading a known CivitAI version ID |
| Hugging Face CLI | Downloading Hub files and gated models |
| Manual provisioning | Advanced template-specific model placement |
ComfyUI-LoRA-Manager
ComfyUI-LoRA-Manager provides a web interface for managing LoRAs.
Open LoRA Manager
- Open it from the ComfyUI top bar.
- Alternatively, use the URL printed near the end of the container log:
If CIVITAI_TOKEN was not configured before deployment, open Preferences in LoRA Manager and add it there.
Refresh and download
- Select Refresh and Fetch to retrieve preview images for LoRAs already stored on the pod.
- Select Download and enter the CivitAI model page URL, not its file-download URL.
- For
run-comfyui-wan2, download the high-noise and low-noise LoRAs separately.
View the LoRA Manager controls


Add a LoRA to Image, LTX or MiniMax
For run-comfyui-image, run-comfyui-ltx and run-comfyui-minimax:
- Add a LoRA Loader (LoraManager) node to the workflow.
- Select the Paper Airplane for the LoRA in the LoRA Manager web interface.
- Confirm that the LoRA appears in the workflow node.
View the LoRA insertion controls

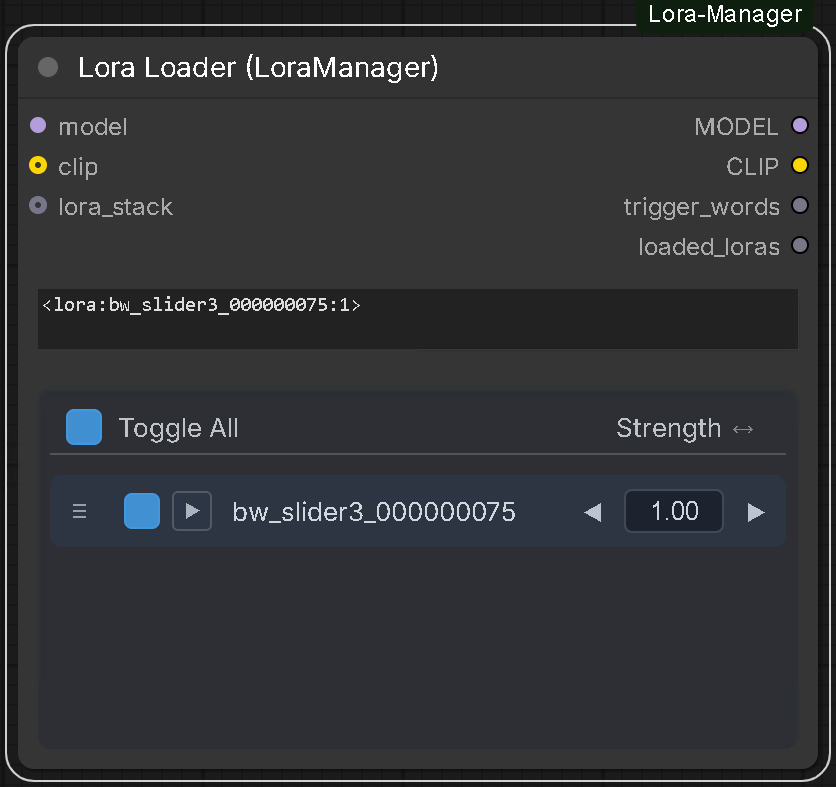
Add WAN 2.2 high-noise and low-noise LoRAs
- Add separate high-noise and low-noise LoRA Loader (LoraManager) nodes.
- Select the Paper Airplane for each LoRA in LoRA Manager.
- Confirm that both LoRAs appear in their corresponding workflow nodes.
View the WAN LoRA controls
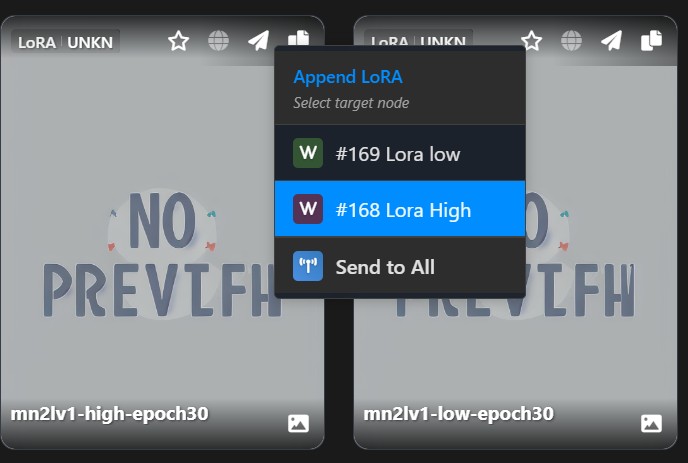
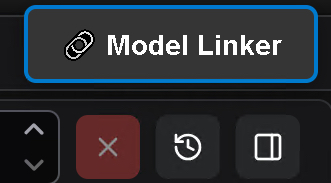
Model Linker
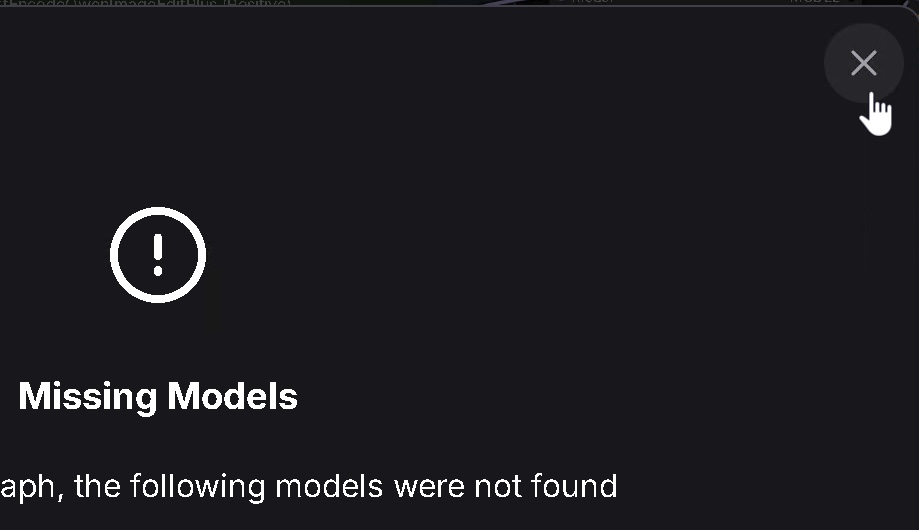
Model Linker tries to match models referenced by a workflow with the pod's provisioning system. It can also download missing models, so check the free space on the /workspace volume first.
View an example of linking workflow models
CivitAI CLI
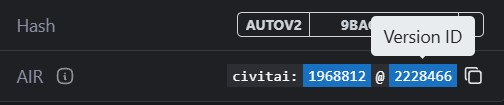
Use this method when you know the CivitAI version ID and destination directory. Configure CIVITAI_TOKEN first.
civitai_com VERSION_ID /workspace/ComfyUI/models/loras/
civitai_red VERSION_ID /workspace/ComfyUI/models/loras/
Examples:
civitai_com 2228466 /workspace/ComfyUI/models/loras/
civitai_red 2893442 /workspace/ComfyUI/models/loras/
View where to find a CivitAI version ID
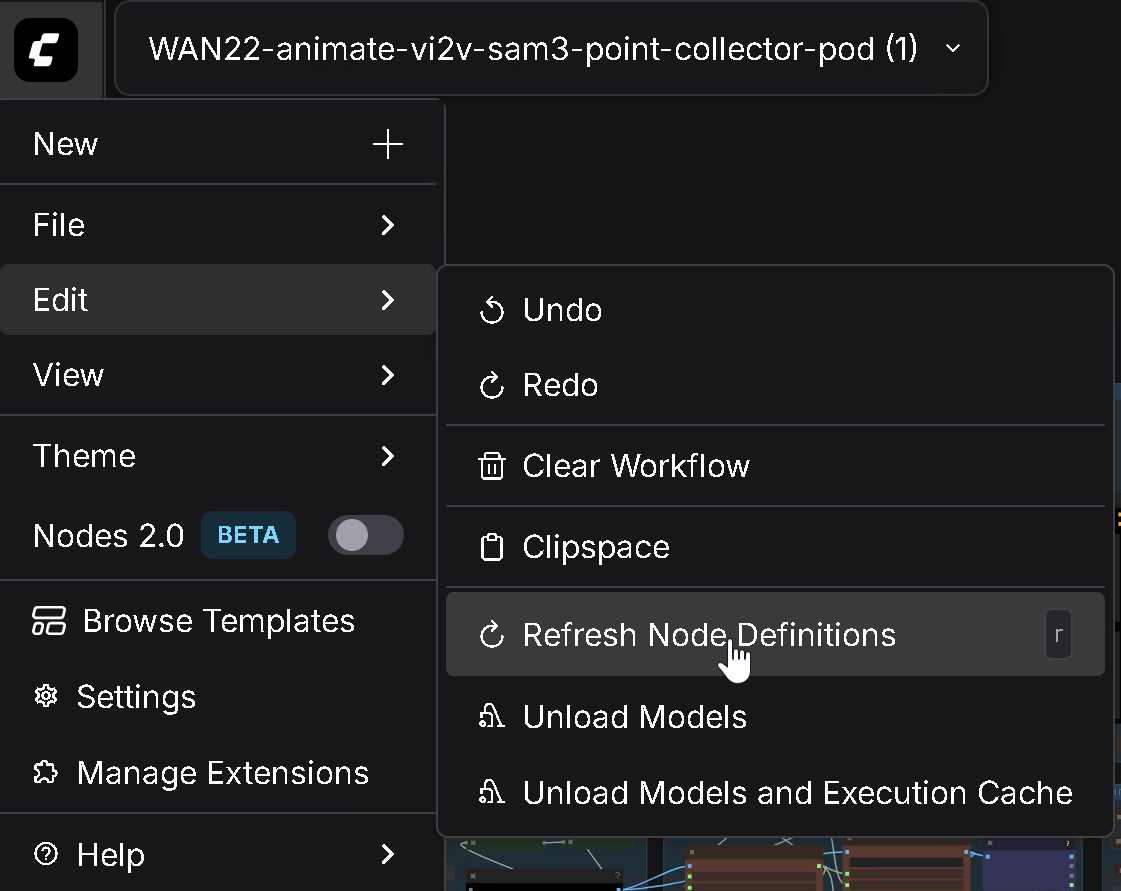
Refresh ComfyUI by pressing R after downloading a model.
Hugging Face CLI
HF_TOKEN is required for gated repositories and uploads. If it was not configured as a RunPod secret, log in interactively:
Download a file to the appropriate ComfyUI model directory:
hf download ricecake/wan21NSFWClipVisionH_v10 wan21NSFWClipVisionH_v10.safetensors --local-dir /workspace/ComfyUI/models/clip_vision
Refresh ComfyUI by pressing R after the download completes.
View the ComfyUI refresh control
Manual provisioning
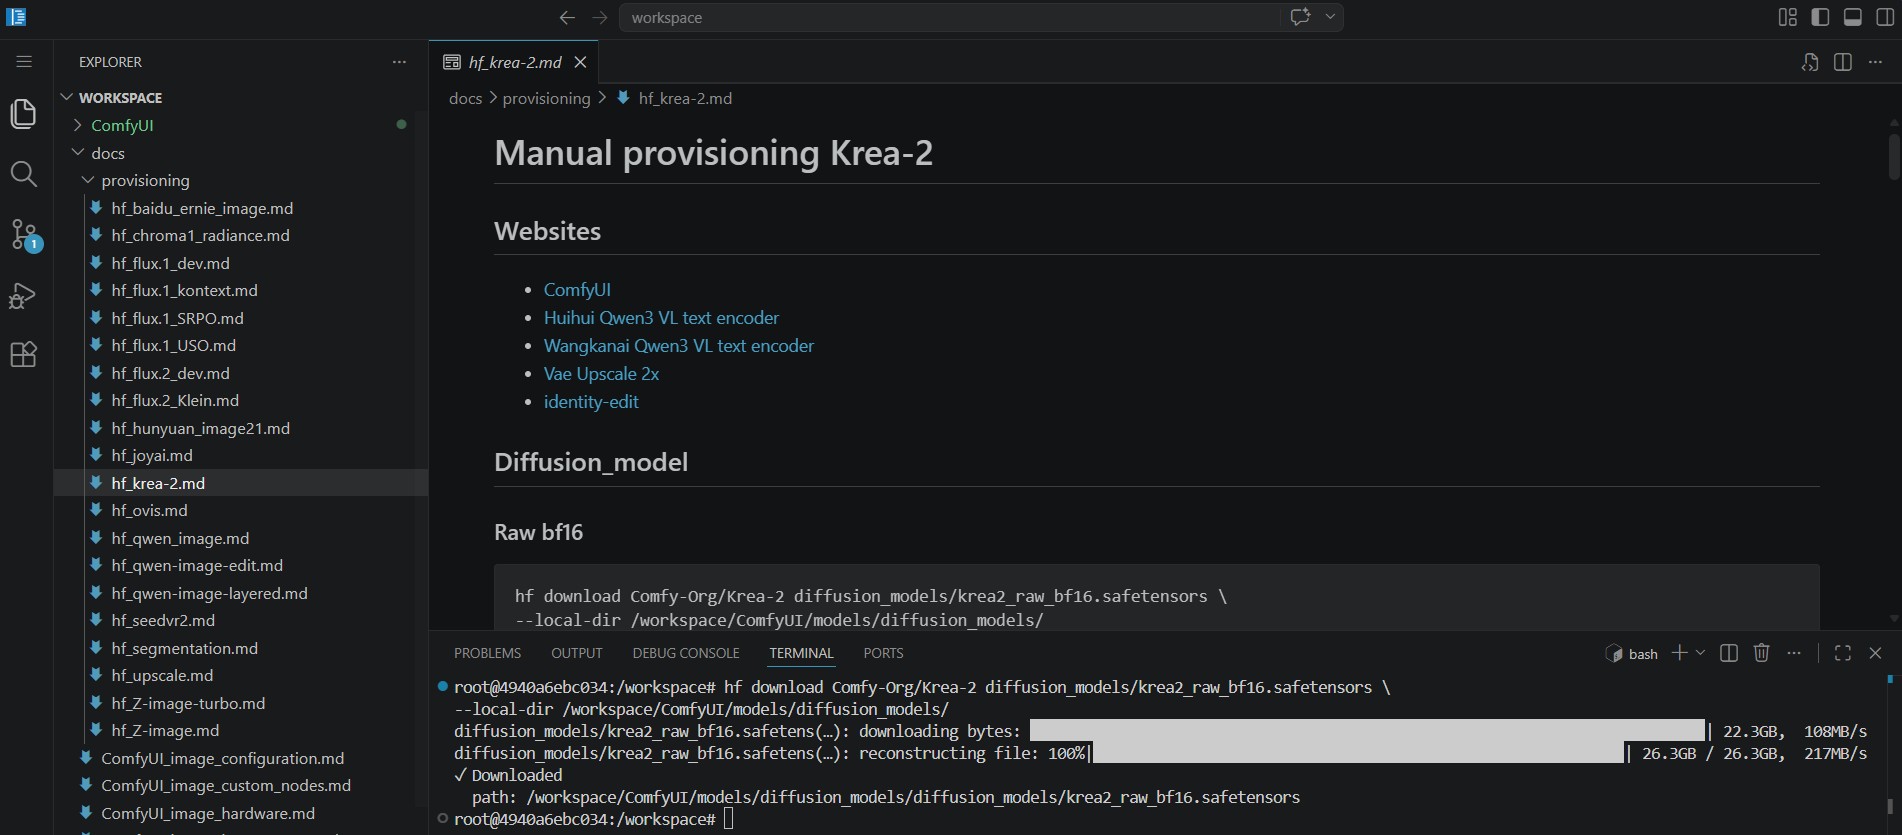
Use the Web Terminal or Code-Server and follow the documentation stored inside the pod for template-specific model directories and provisioning options.
View manual provisioning in Code-Server
Delete models and LoRAs
Deleting unused models frees space on the /workspace volume.
Web Terminal or Code-Server
- Open a terminal.
- Run
ncdu. - Navigate to the model directory and follow the on-screen instructions.
LoRA Manager
- Select the LoRA.
- Select Delete.
ComfyUI Manager
Open ComfyUI Manager from the ComfyUI top bar or menu to manage custom nodes and extensions.
View the ComfyUI Manager control

Pod and file management
| Task | Guide |
|---|---|
| Restart, stop or resume the pod | Pod management |
| Upload or download files | File management |
| Use SSH and other advanced options | Advanced features |
| Automate RunPod operations | RunPod API |
Troubleshooting
Service is not ready or the browser is unauthorized
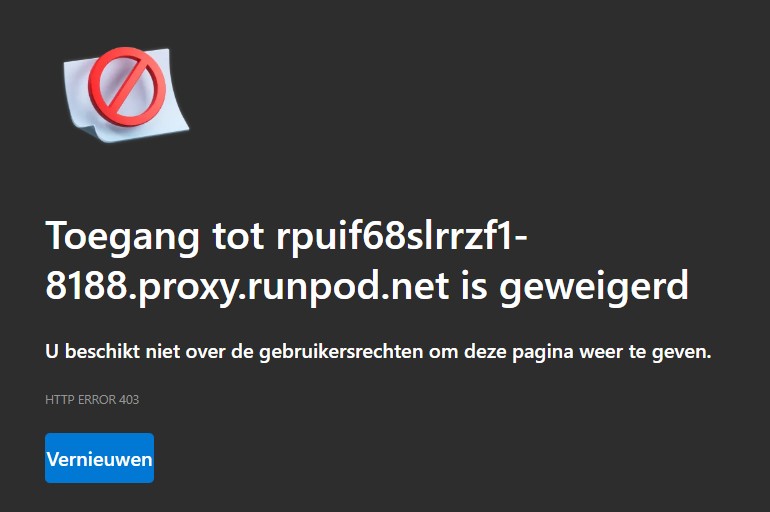
First confirm that the container log shows the final ready message. If the Connect buttons still do not work, use the proxy URLs printed near the end of the container log:
- ComfyUI:
https://<pod-id>-8188.proxy.runpod.net/login - Code-Server:
https://<pod-id>-9000.proxy.runpod.net/login
Replace <pod-id> with the ID displayed in the RunPod console.
View an unauthorized browser response
ComfyUI or Code-Server remains blank
- Wait one minute and try again.
- Confirm that pod startup completed successfully.
- Refresh the page or clear the browser cache.
- Try another browser such as Chrome, Edge or Brave.